


I. Preparation
Install HiDiscovery software
JAVA runtime environment (http://www.java.com)
II. Configuration
Use HiDiscovery software to assign IP addresses to switches
In the factory default configuration of the Hirschmann switch, the default IP address of the switch is 0.0.0.0, and its subnet mask is also 0.0.0.0.
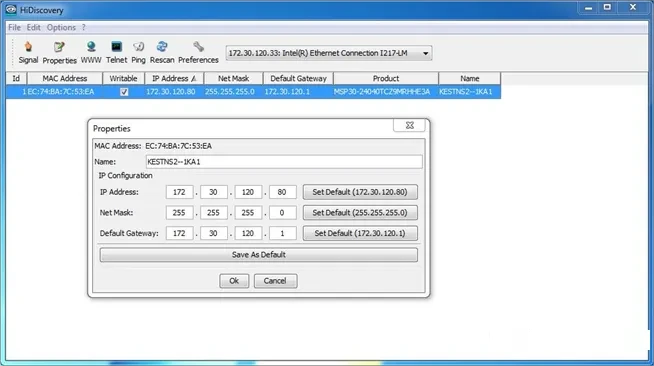
Note: After selecting a device with the left mouse button and clicking the Signal button, all the LED lights of the switch will start flashing. This method can be used to distinguish each device. If you mistakenly set two switches to the same IP address, the HiDiscovery software will prompt that there is a conflicting address.
III. Login configuration interface
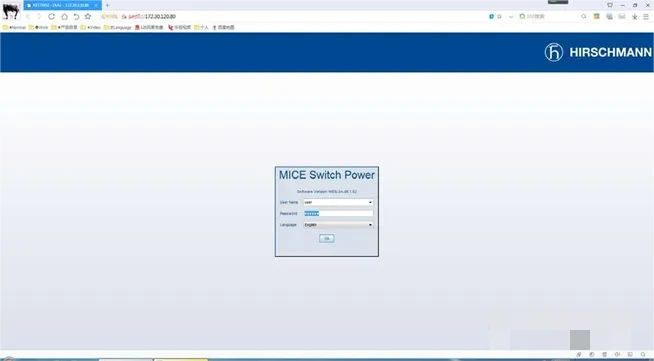
After configuring the switch network management IP address, you can log in to the switch's Web configuration interface through the IE browser of the configuration computer. When logging in, you only need to enter the IP address of the target switch in the address bar of the IE browser and connect, or use the "WWW" button of the HiDiscovery software to directly jump to the switch's Web interface. The first thing that appears is the switch login window, which requires you to select a user name and enter the corresponding password:
The user user has only "read-only " permission, and the password is public
admin user has "read / write" permissions and the password is private
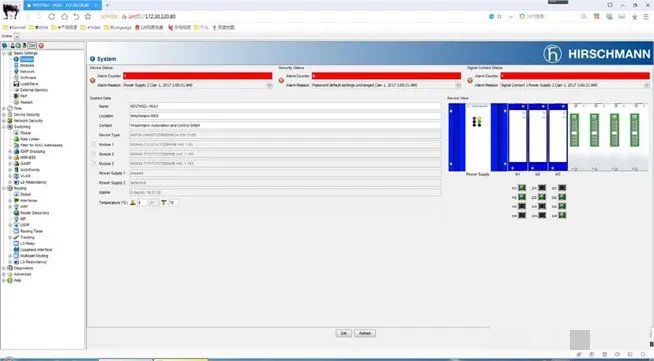
IV. Configure the network cabinet LAN subordinate interconnection

Note: When setting the subordinate network address, the default gateway needs to be set.
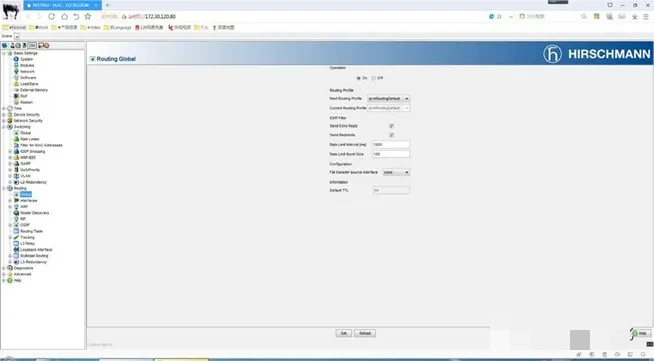
Set up virtual local area network VLAN:
the switch into VLANs, you must ensure that the port to which the configuration computer is connected is in the network management VLAN. The switch network management defaults to VLAN1, and other application VLANs can be defined as VLAN2, VLAN3, etc. Here we define VLAN100.
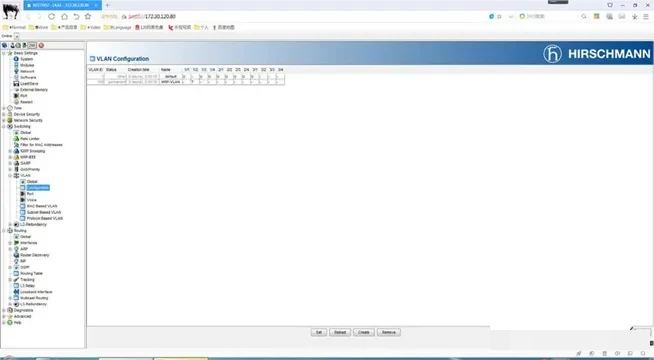
Select the corresponding outflow rule:
T = Tagged VLAN
U = Untagged VLAN
F = Forbidden
Click Set to upload the settings, and click Reload to check whether the configuration is effective.
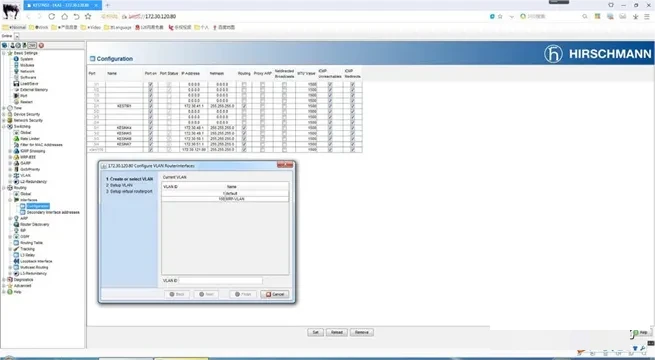


OSPF virtual interconnection settings


After the interconnection is set up, you can see the interconnection status in the Routing Table.

After the setting is completed, the parameters need to be saved, otherwise the parameters will be lost after the switch is powered off.

V. Configure the ring network redundancy settings between network cabinets
HIPER-Ring: Hirschmann Private Ring Protocol
MRP: IEC62439 industrial ring network redundancy protocol, used for networking with third-party industrial Ethernet switches
FAST HIPER-Ring: Enhanced ring network redundancy protocol with extremely fast recovery time for industries with high real-time requirements such as power transmission and distribution.
1. Set up Ring Port 1 and 2
2. Select the management level of this switch in the ring network on the Redundancy Manager. In a ring network organization, only one switch can be defined as Redundancy Manager, select On in Mode, and select Off for the other switches in the same ring.
Note : If multiple switches have the redundancy manager turned on, it will cause a switch failure on the standby link. At the same time, because HIPER-Ring and RSTP belong to different redundancy mechanisms, the RSTP function must be turned off on the ring network link. To turn off this function, just select Off in the Redundancy-Spanning Tree-Global option.


